Although this blog exists because of my writing, I’ve been known to post stories and photos about The Daughter, volleyball, and my crafts….among other things. Today’s blog is something new and different for me, I’m posting a pattern for a circular knitting needle case.

Case for Circular Knitting Needles
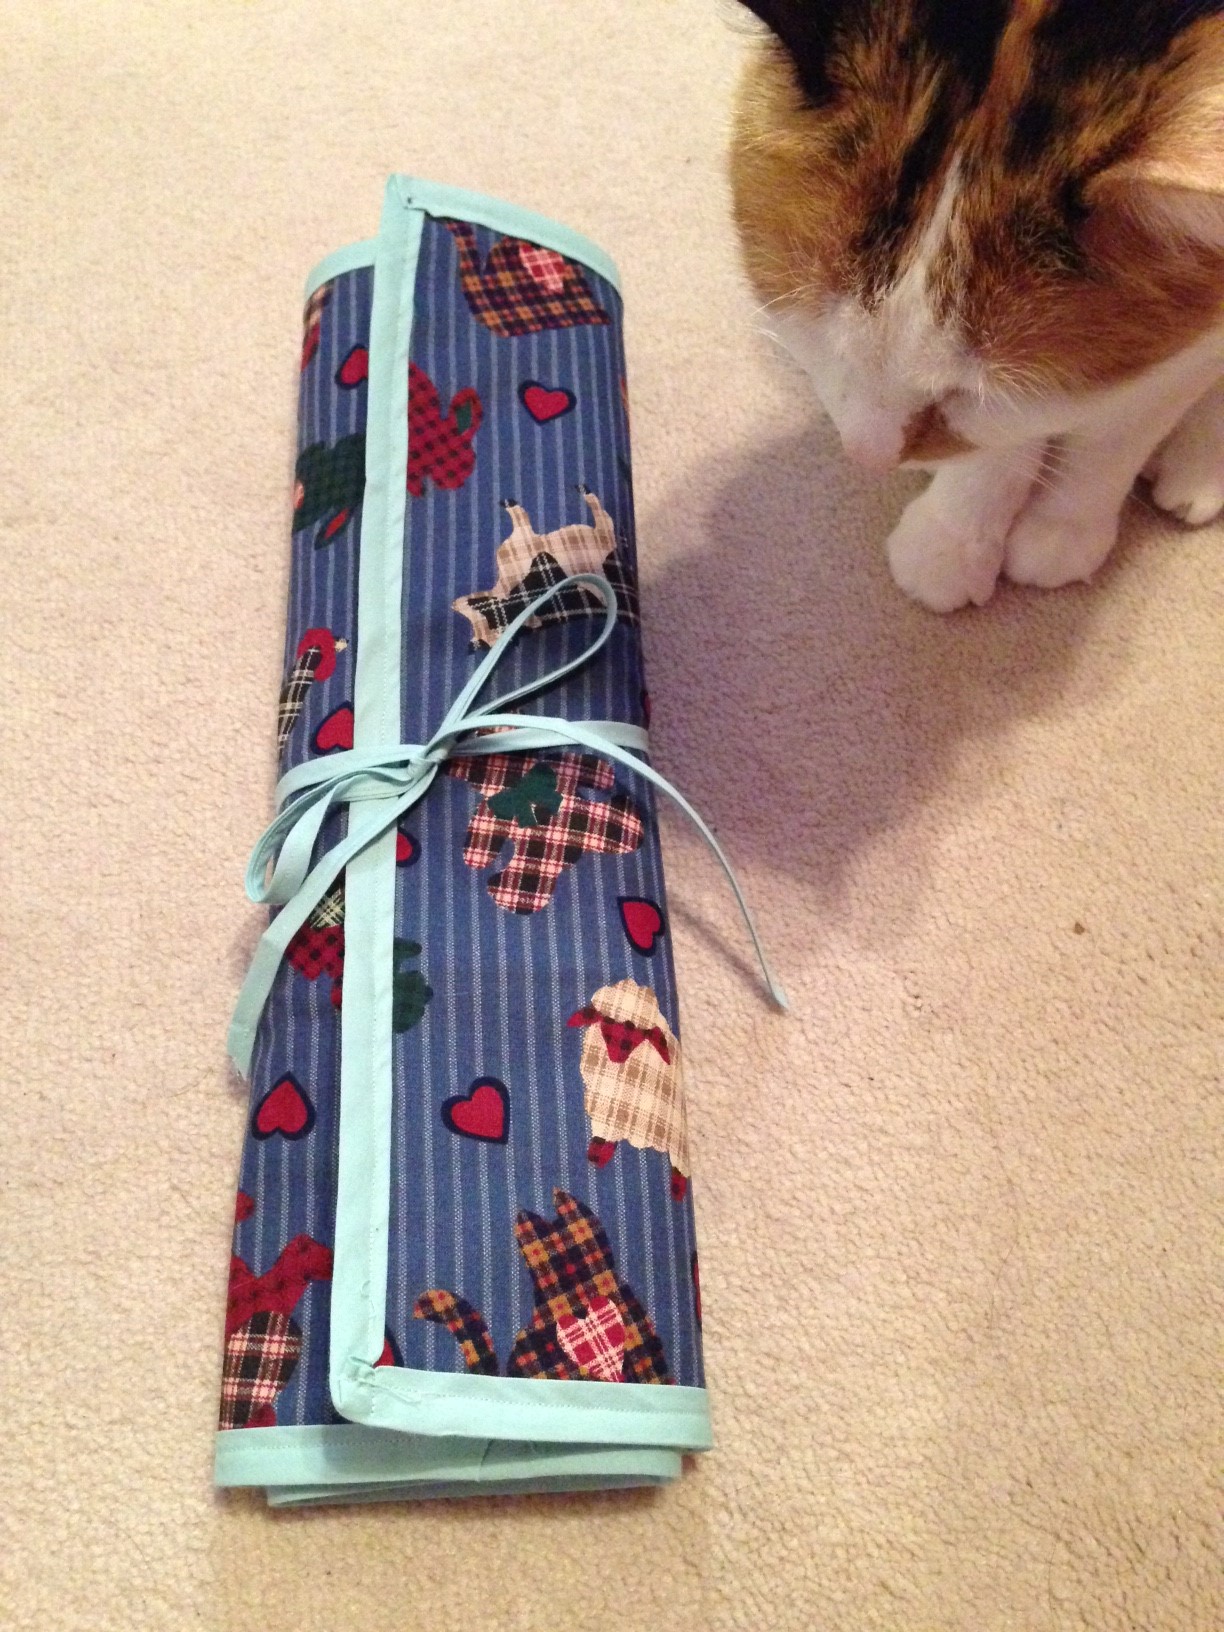
Case for Circular Knitting Needles – rolled up and cat approved
Why? Well, I’ve been wanting a case to organize my circular needles, and one of my craft magazines recently showed one on sale. When I went to the website, the case was sold out, and thus began the search.
After witnessing the price of these cases at other on-line stores, I then began looking for free patterns. (Because, I don’t already have enough crafts on the go.) For once, a search of the internet came up lacking.
I went to the craft closet and found some material hiding in one of the many boxes. As I began to plan out the case, I decide I would write it all down and take photos, so that the next person searching for “Free Pattern for Case for Circular Knitting Needles” would actually find something they could use.
So if you are interested, the pattern and photos are below. After seeing how easy this was, I’ve also decided to alter the pattern and make cases for my crochet and other needles, and I’ll post photos and pattern changes for them in the near future.
***
I started with a piece of material 45” wide by 55” long. (Weird size? Maybe, but remember everything I used is from the craft closet. As such, I started with a piece of old material that I originally bought for quilting.) I trimmed those ugly white edges off and cut the piece in half lengthwise, so my working piece is 21.5” wide by 55” long.
In addition to material, you need:
1 package (2.75m) double fold bias tape
1 package (2.75m) extra wide double fold bias tape
Interfacing 14” x 21”
Thread, pins and chalk (if you’ve got chalk, otherwise pins will do)
Using pins or chalk, mark 4” from the bottom. Mark at 4” intervals, eight more times, ending at 36 inches. Now put a final mark at 38”.
With wrong sides together, iron at the 4” markings.
With wrong sides together, iron at the 16” markings.
With wrong sides together, iron at the 24” markings.
With wrong sides together, iron at the 38” markings.
Cut three 4” x 21” and one 2” x 21” strips of interfacing, and iron behind the following sections:
Section 1 (marks 0 – 4”)
Section 4 (marks 12”-16”)
Section 7 (marks 24” –28”)
Section 10 (marks 36”-38”)

Pattern Sketch
Sew double fold bias tape along the 4”, 16” and 28” inch ironed folds.
Bring the 4” ironed fold up to the 12” mark, and pin (the 8” mark becomes an inside fold)
Bring the 16” ironed fold up to the 24” mark, and pin (the 20” mark becomes an inside fold)
Bring the 28” ironed fold up to the 36” mark, and pin (the 32” mark becomes an inside fold
Fold over at the 38” mark (wrong sides together)
Your folded work should look something like this:

Ironed folds, attached bias tape, and now pinned folds to other marks
Trim or fold in the bottom edges so they are even
On the inside/pocket side, mark off the size of your pockets, two inches from top to the bottom of the case.
I decided to have five pockets roughly 4 inches each.
Note 1: The 2 on the right should be slightly bigger. In my case 4”, 4”, 4”, 4.5” and 4.5” since the “roll” begins on the left
Note 2: I first thought of having 4 pockets on the bottom row for bigger needles, and five on the top and middle rows for smaller needles BUT…all pockets must be of the same size, or your case will not roll up.
Sew along the chalk lines – again, from the top of the first pocket, to the bottom of your case.
Now sew double fold extra wide bias tape around the entire case. (I found it easier to base-stitch into place first.)
Sew remaining double wide bias tape (the thinner one, used on the fold) closed…you will use this as a tie.
With outside facing up, attach tie to case on outside of case, 6” from the bottom and 4”from the left edge.
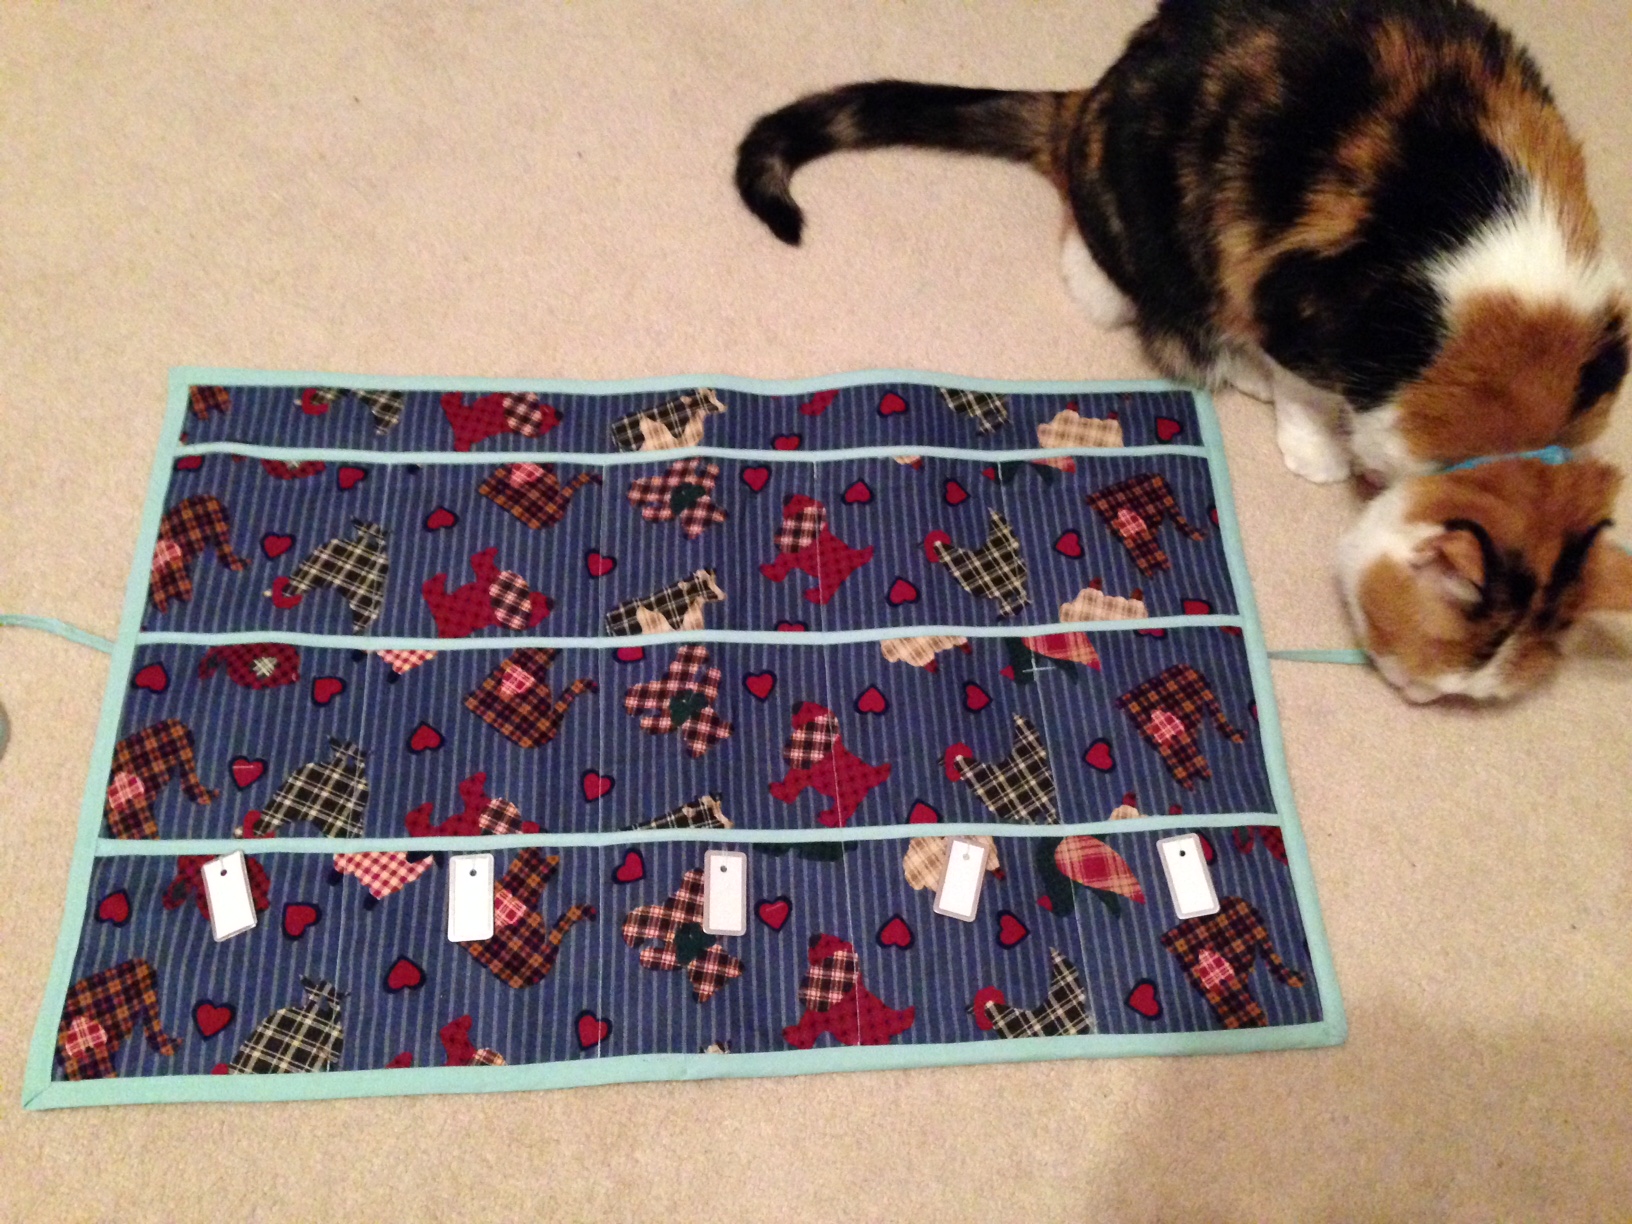
Outter bias tape & tags added
I went on to add tags to my pockets so I could identify the size & length of my needles…some of my bigger needles had no packages. (Again, my tags were done with scraps I found sitting in my craft closet.) For the rest, I simply put the cases in the pockets with the needles. (I considered ironing patches on the outside of each pocket and then writing on the patch with fabric pen, but decided not to. For now. )
If you have any questions about the pattern, just leave it in the comments. (Be sure to check pack for an answer, or leave me an email at which to reply.)